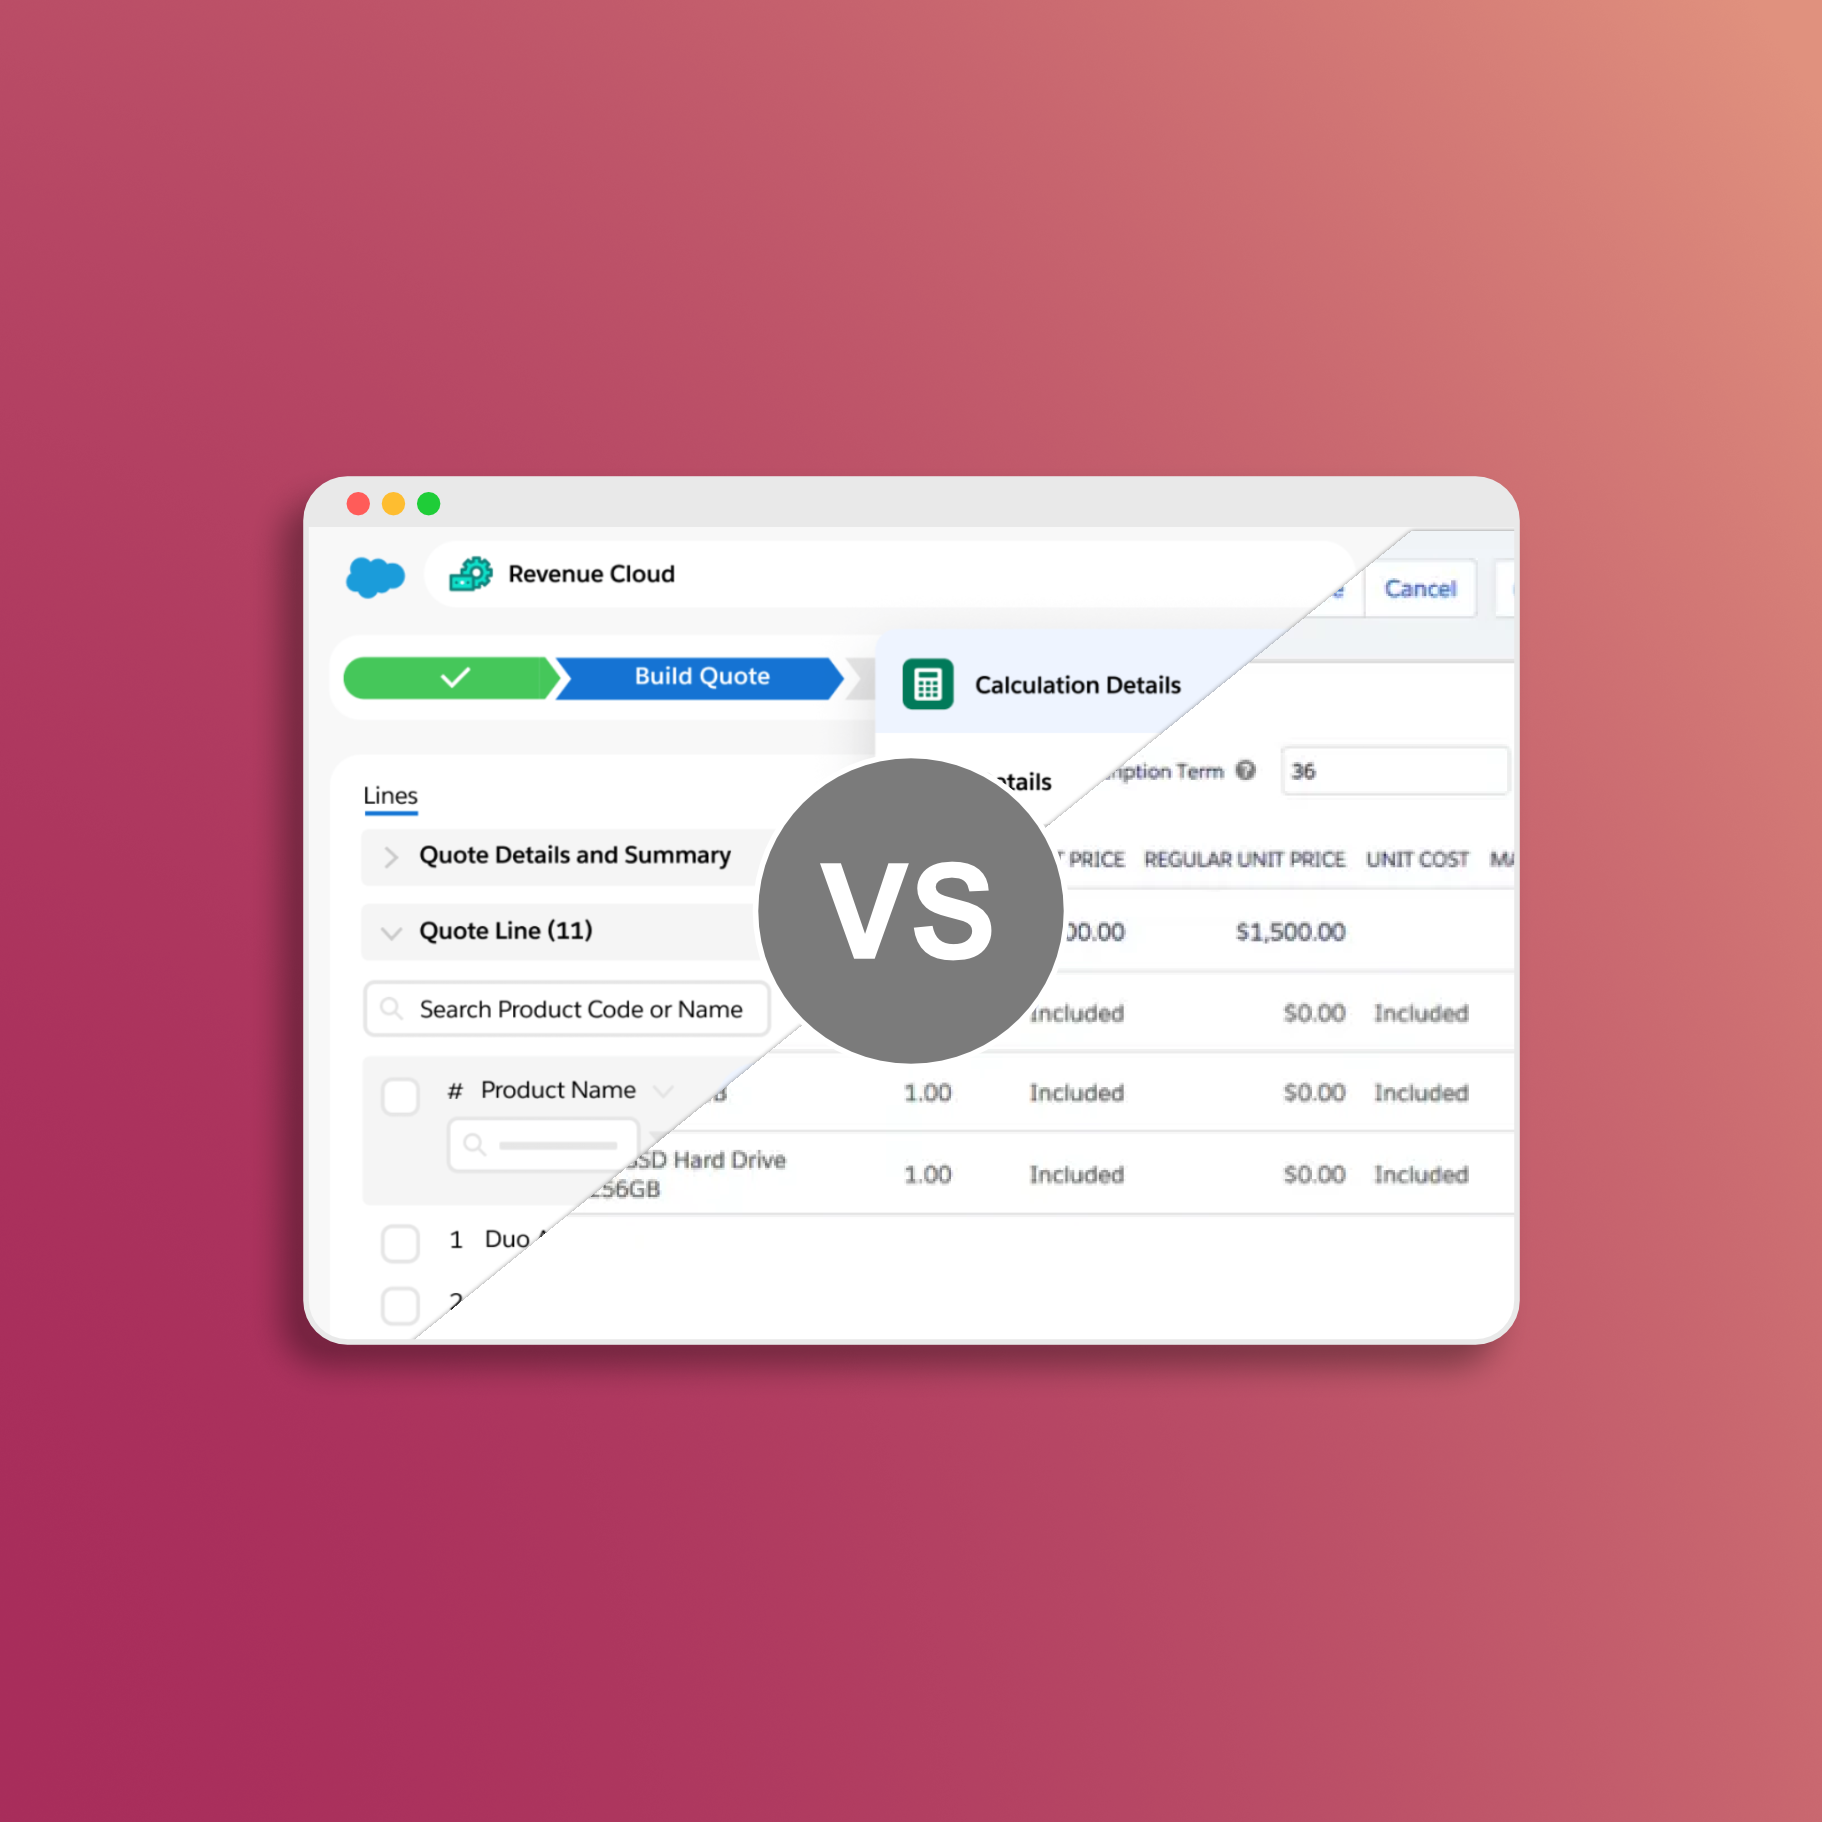
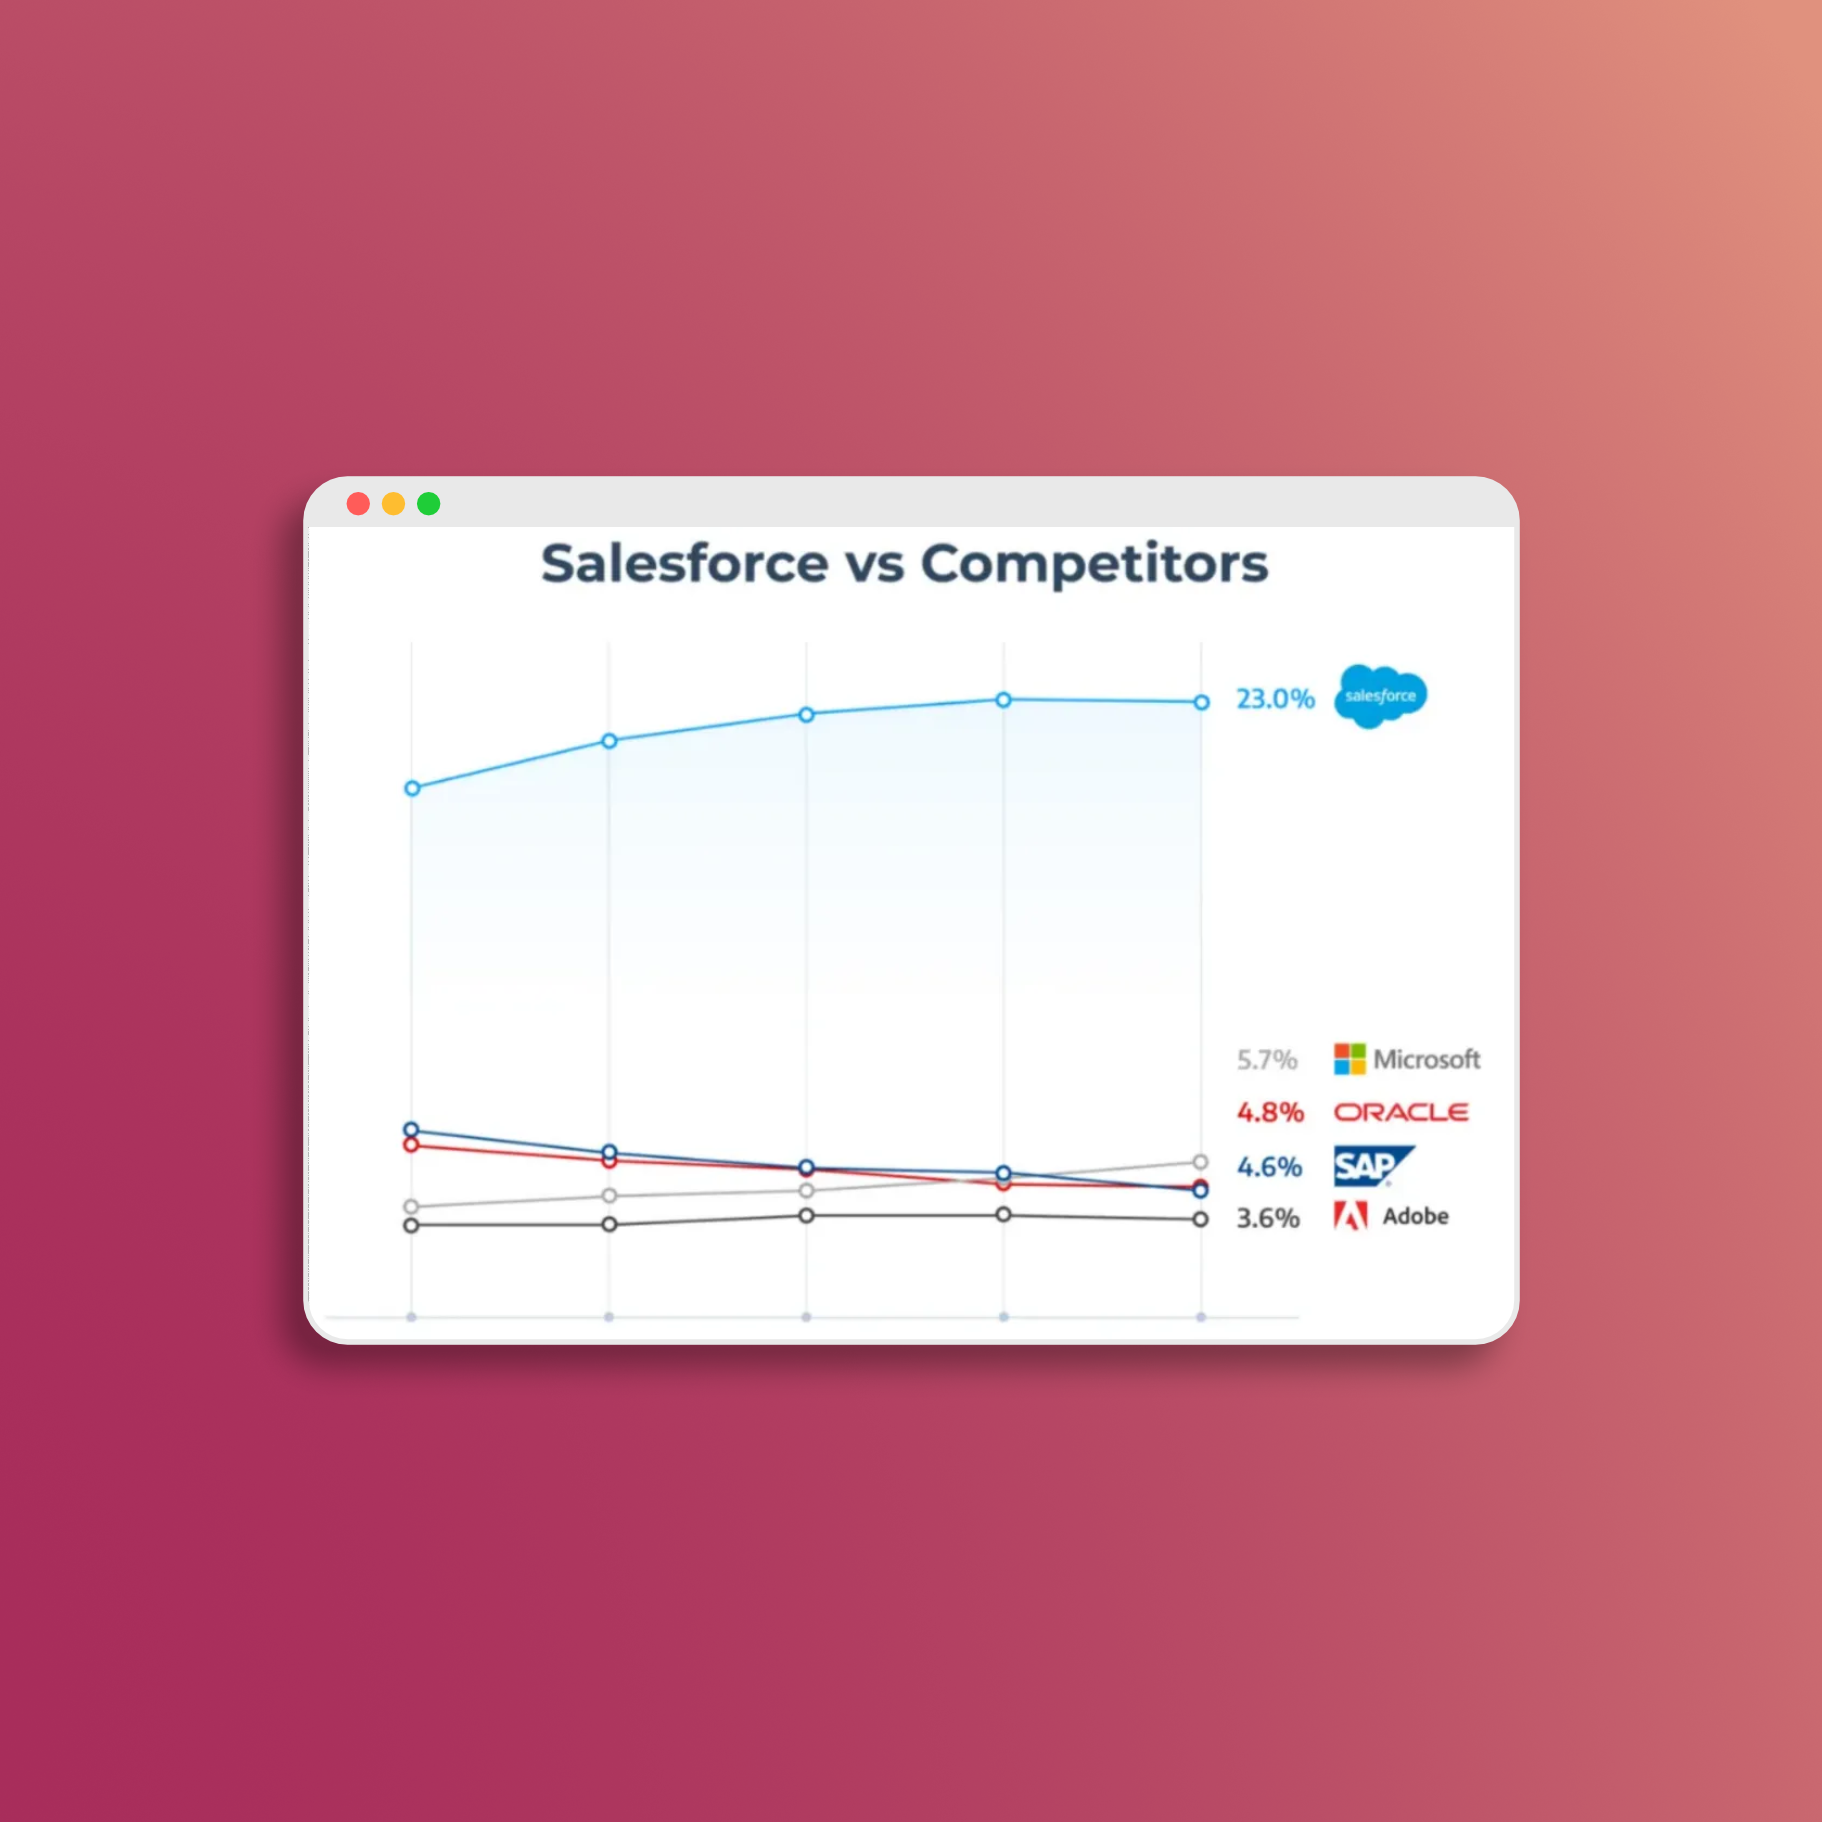
Salesforce Revenue Cloud Trial Setup Guide
Are you seeking a comprehensive guide on how to create a developer org, sign up for a free trial, or set up a Trailhead environment to explore Salesforce Revenue Cloud? You’ve come to the right place! This detailed guide will walk you through the necessary steps to explore with the features of Revenue Cloud (RLM) from Salesforce.
Setup Steps
Step 0: Sign Up for a Free Trial
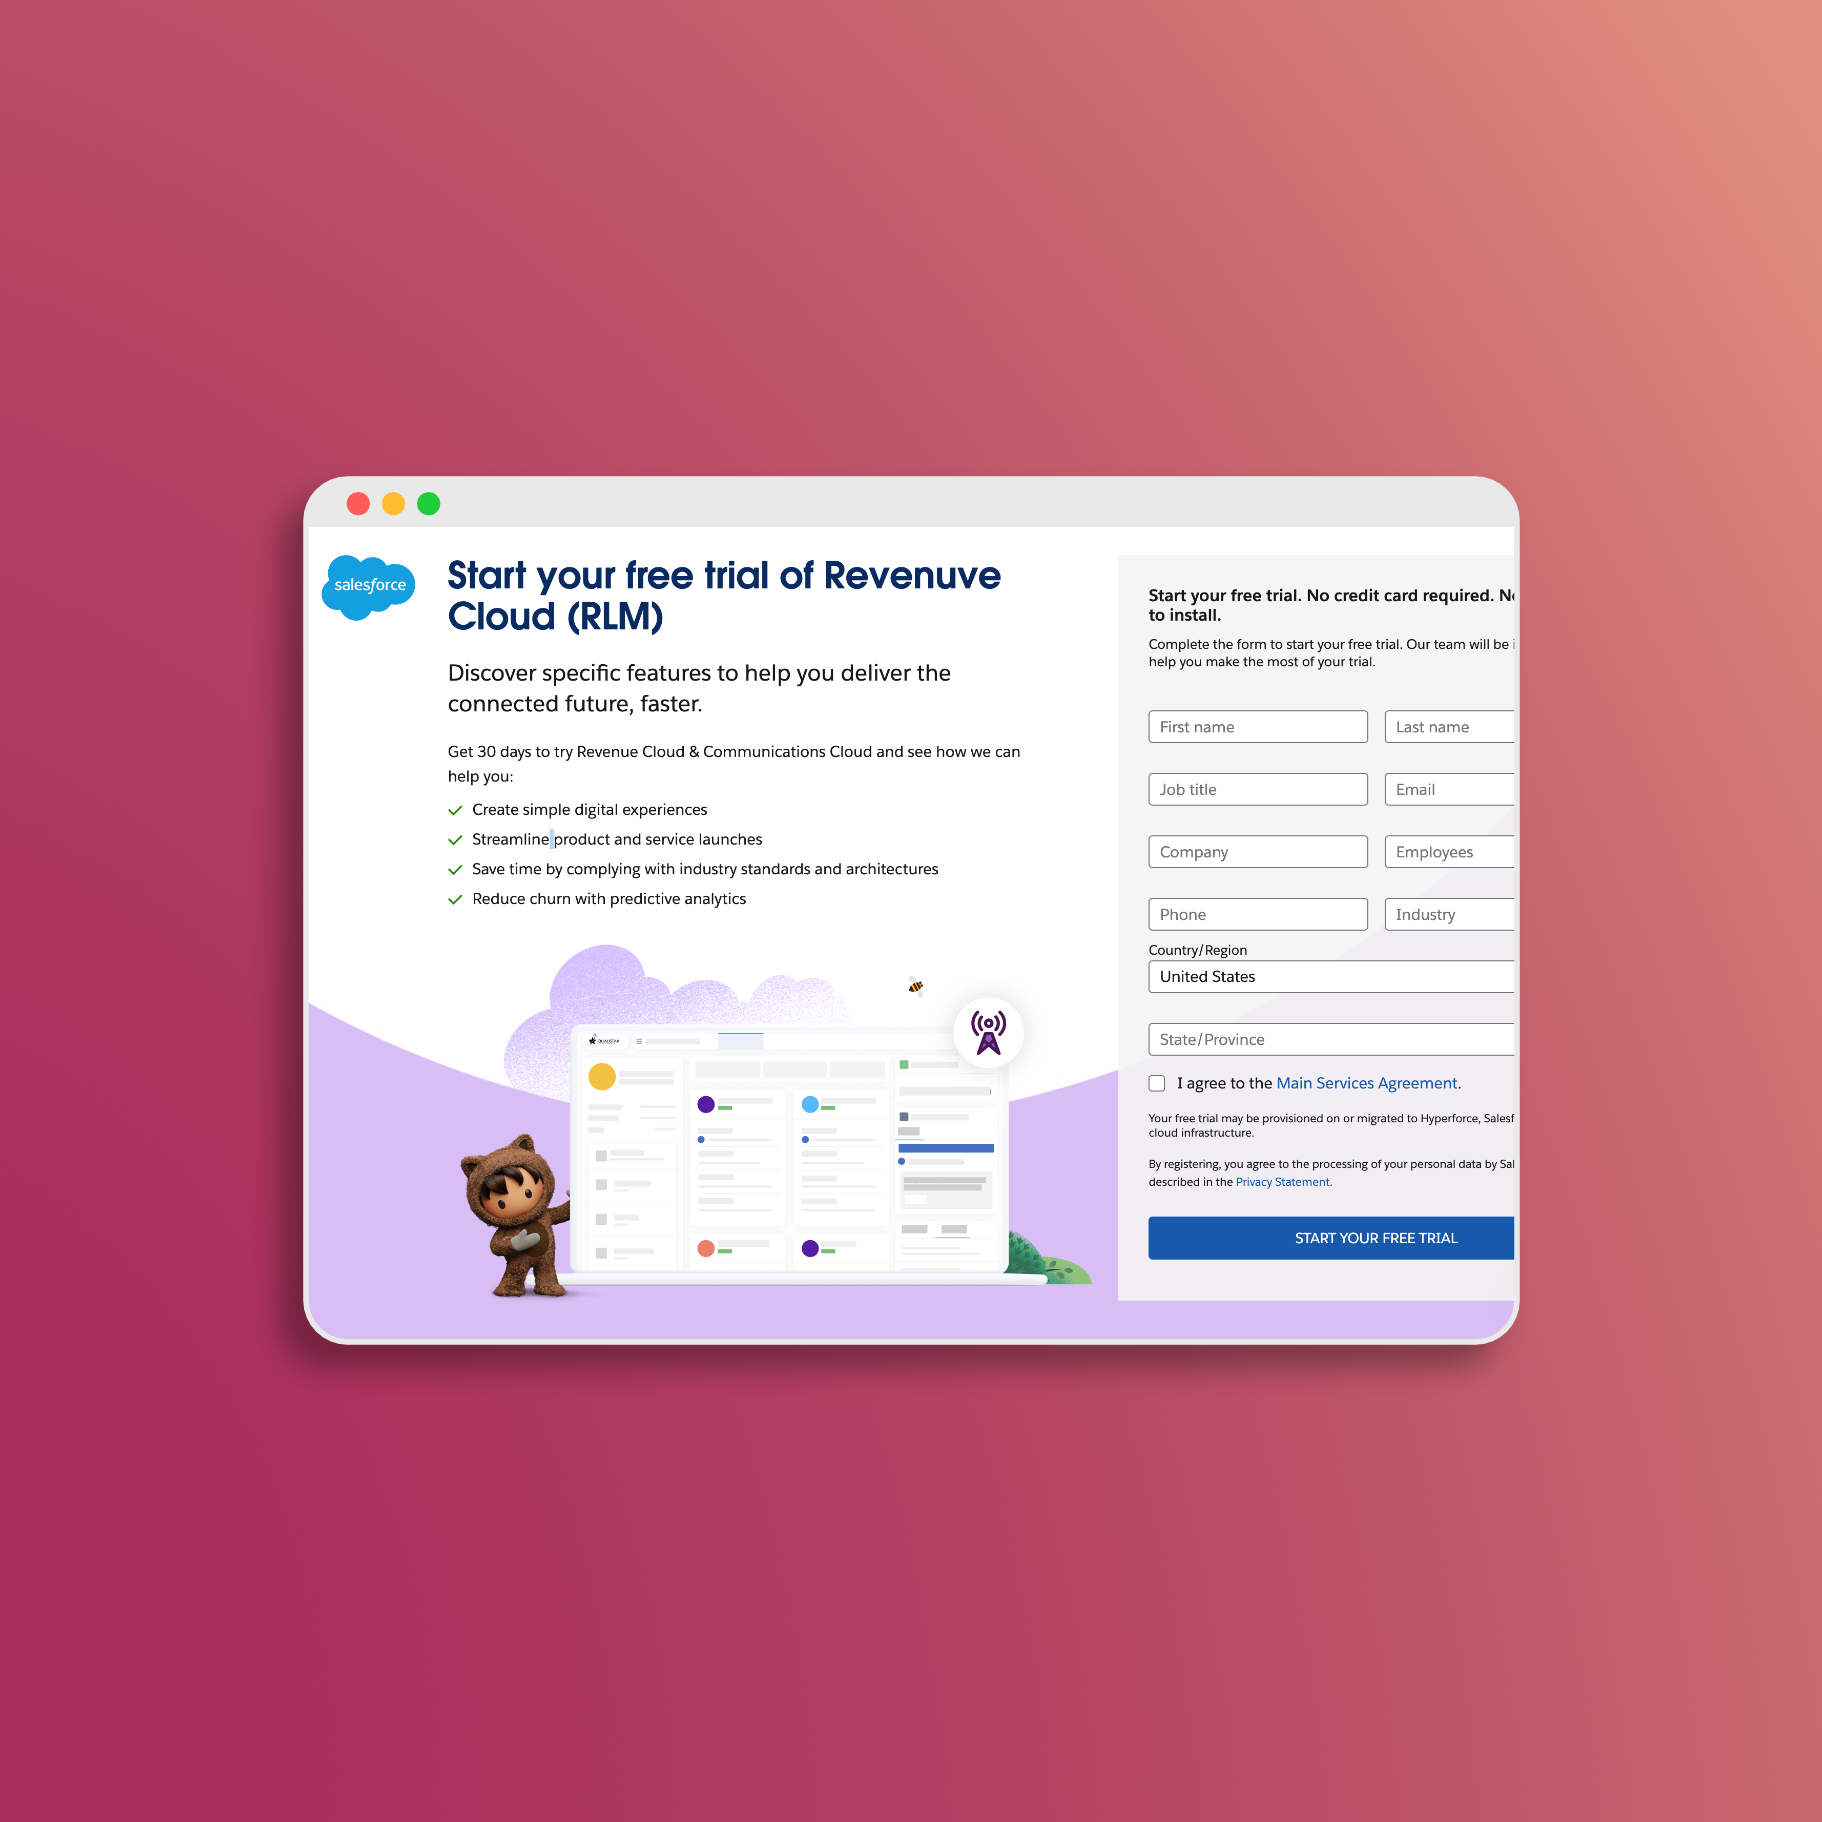
To begin, we will sign up for a free trial of Salesforce Communications Cloud. Currently, this is the only way to access the new features of Revenue Cloud. We will then enable the essential features to use Revenue Cloud within this Org.
After signing up, check your email for a message from Salesforce. Follow the instructions to complete the new login process (including setting your password). Once logged in, copy the Base URL from your new trial org and paste it in the field below. This will allow us to provide direct links to the setup pages, saving you time navigating through the settings.
Step 1: Contract Lifecycle Management
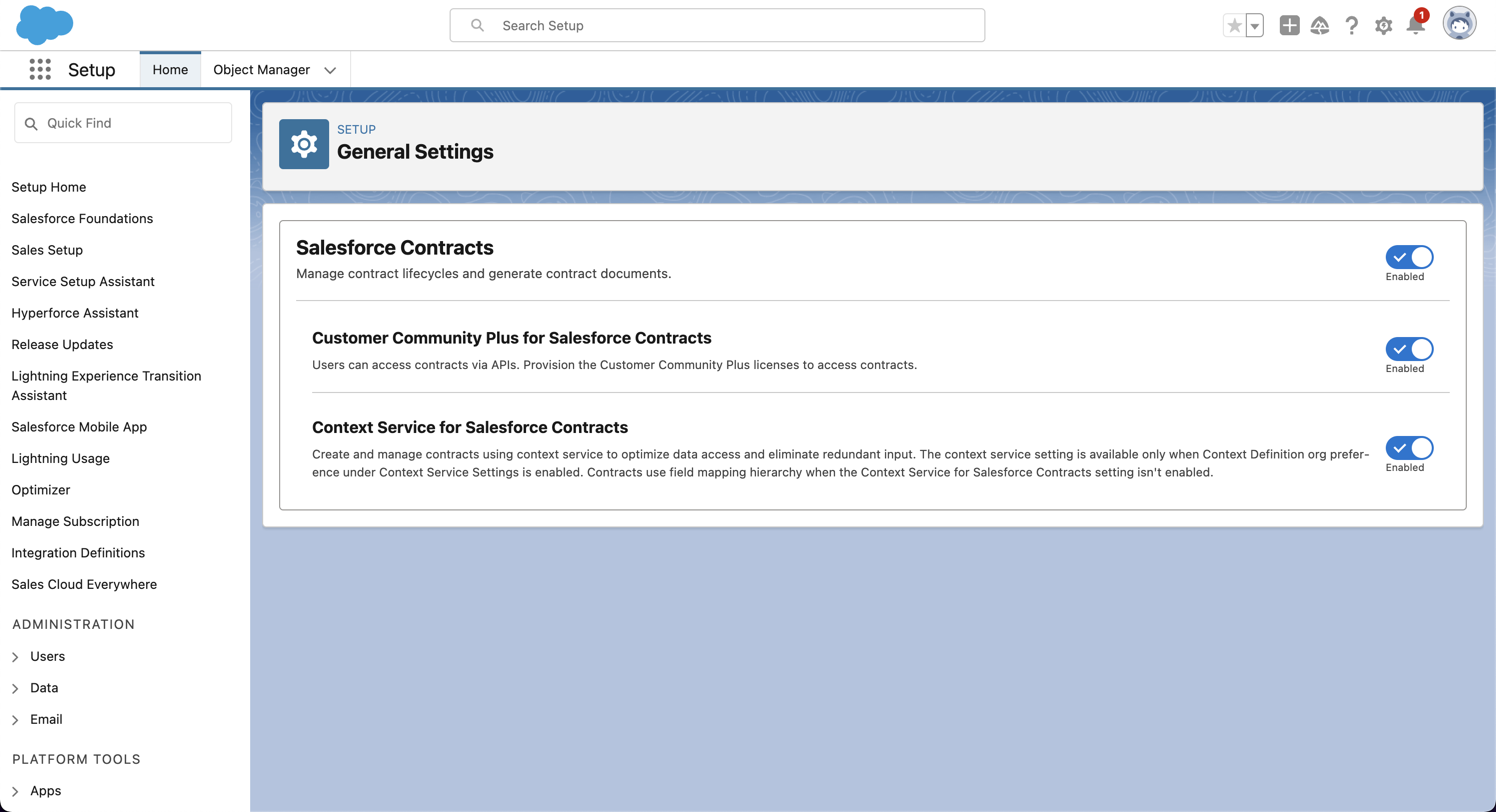
- Enable Salesforce Contracts
- Enable Customer Community Plus for Salesforce Contracts
- Enable Context Service for Salesforce Contracts
Step 2: Pricing Waterfall
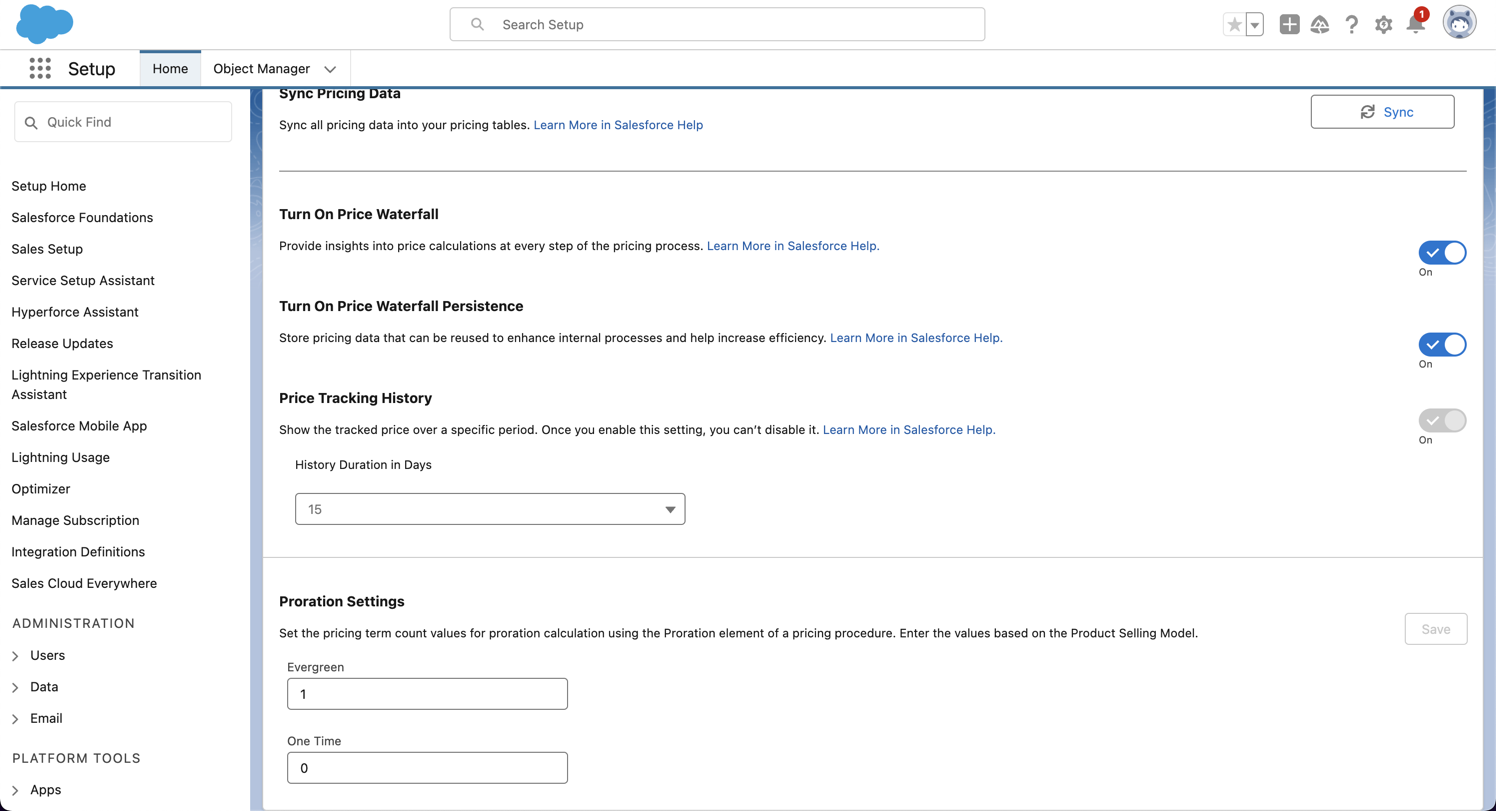
- Enable Turn On Price Waterfall
- Enable Turn On Price Waterfall Persistence
Step 3: Document Generation
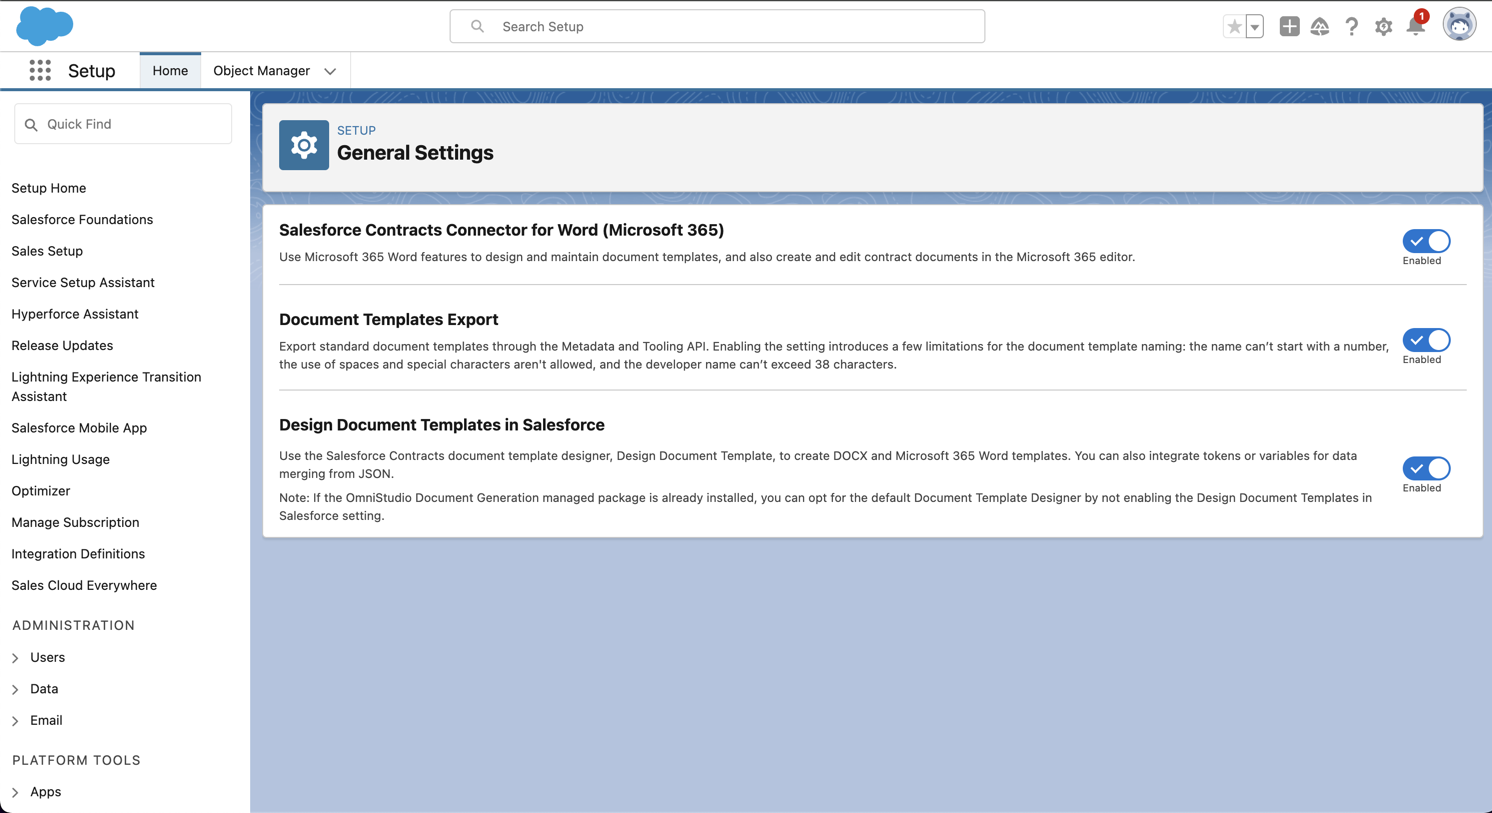
- Enable Salesforce Contracts Connector for Word (Microsoft 365)
- Enable Document Templates Export
- Enable Design Document Templates in Salesforce
Step 4: Dynamic Revenue Orchestrator
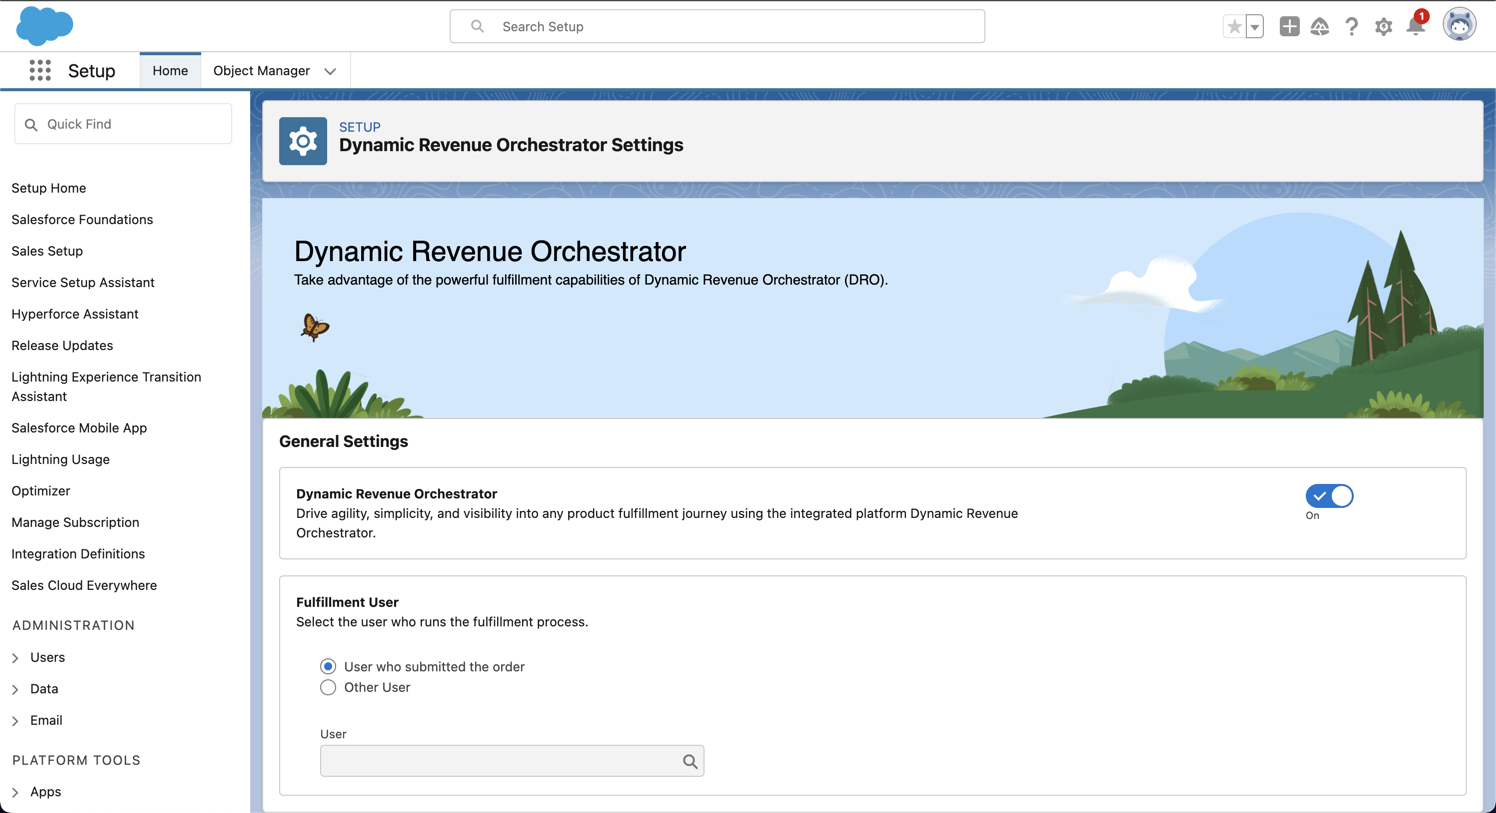
- Enable Dynamic Revenue Orchestrator
Step 5: Service Process Definition Settings
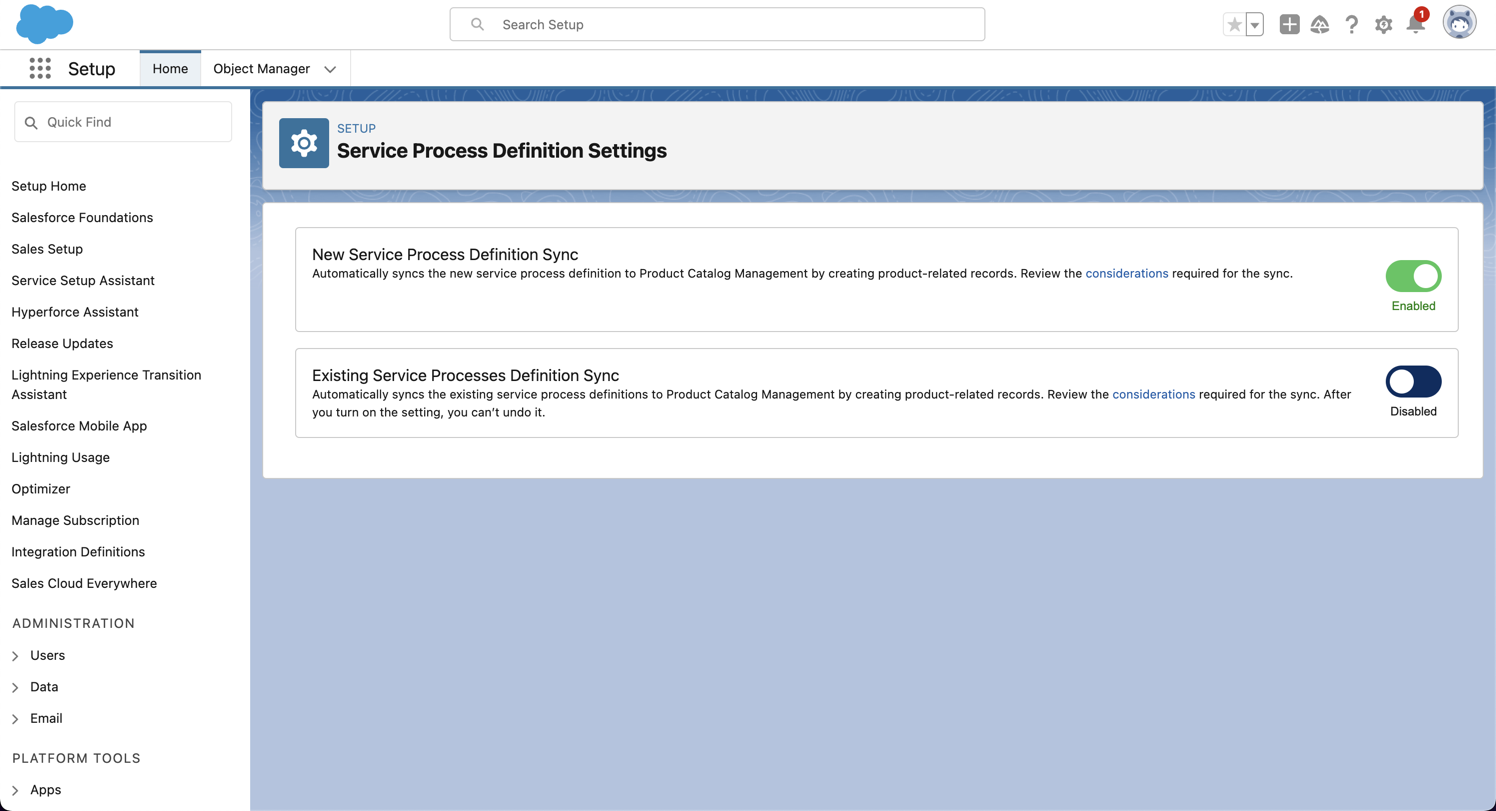
- Enable New Service Process Definition Sync
Congratulations!
Your trial org is now ready to go! Keep in mind that it will expire after 30 days, and you will need to repeat this process for a new org. If you found this article helpful, please share it with others who may benefit from it!
📅 Let's Work Together!

