
Part 1: Instructions
Select the Product Catalog Management App
- App Launcher > Product Catalog Management
Create Attribute Picklists with Attribute Picklist Values
Color Picklist & Values:
- App Launcher > Product Catalog Management > Picklists > New
- Name: Color
- Status: Active
- Data Type: Text
- Save
- On the new record, select Related > New Attribute Picklist Value.
- Create values for White, Blue, Pink, and save.
Fabric Picklist & Values:
- App Launcher > Product Catalog Management > Picklists > New
- Name: Fabric
- Status: Active
- Data Type: Text
- Save
- On the new record, select Related > New Attribute Picklist Value.
- Create values for Cotton, Polyester, and save.
Garment Size Picklist & Values:
- App Launcher > Product Catalog Management > Picklists > New
- Name: Garment Size
- Status: Active
- Data Type: Text
- Save
- On the new record, select Related > New Attribute Picklist Value.
- Create values for Small, Medium, and save.
Create Attributes
- App Launcher > Product Catalog Management > Attributes > New
- Create attributes for Color, Fabric, Garment Size, Sock Size.
- Assign the appropriate picklists and save.
Create Attribute Categories
Garment Attribute Category:
- App Launcher > Product Catalog Management > Attribute Categories > New
- Name: Garments
- Save
- Assign attributes: Color, Fabric, Garment Size.
Sock Attribute Category:
- App Launcher > Product Catalog Management > Attribute Categories > New
- Name: Socks
- Save
- Assign attributes: Color, Fabric, Sock Size.
Create a Catalog with Categories
- App Launcher > Product Catalog Management > Catalogs > New
- Name: Salesforce
- Save
- Create Categories: Bundle, Clothing, Accessories, and assign them to the catalog.
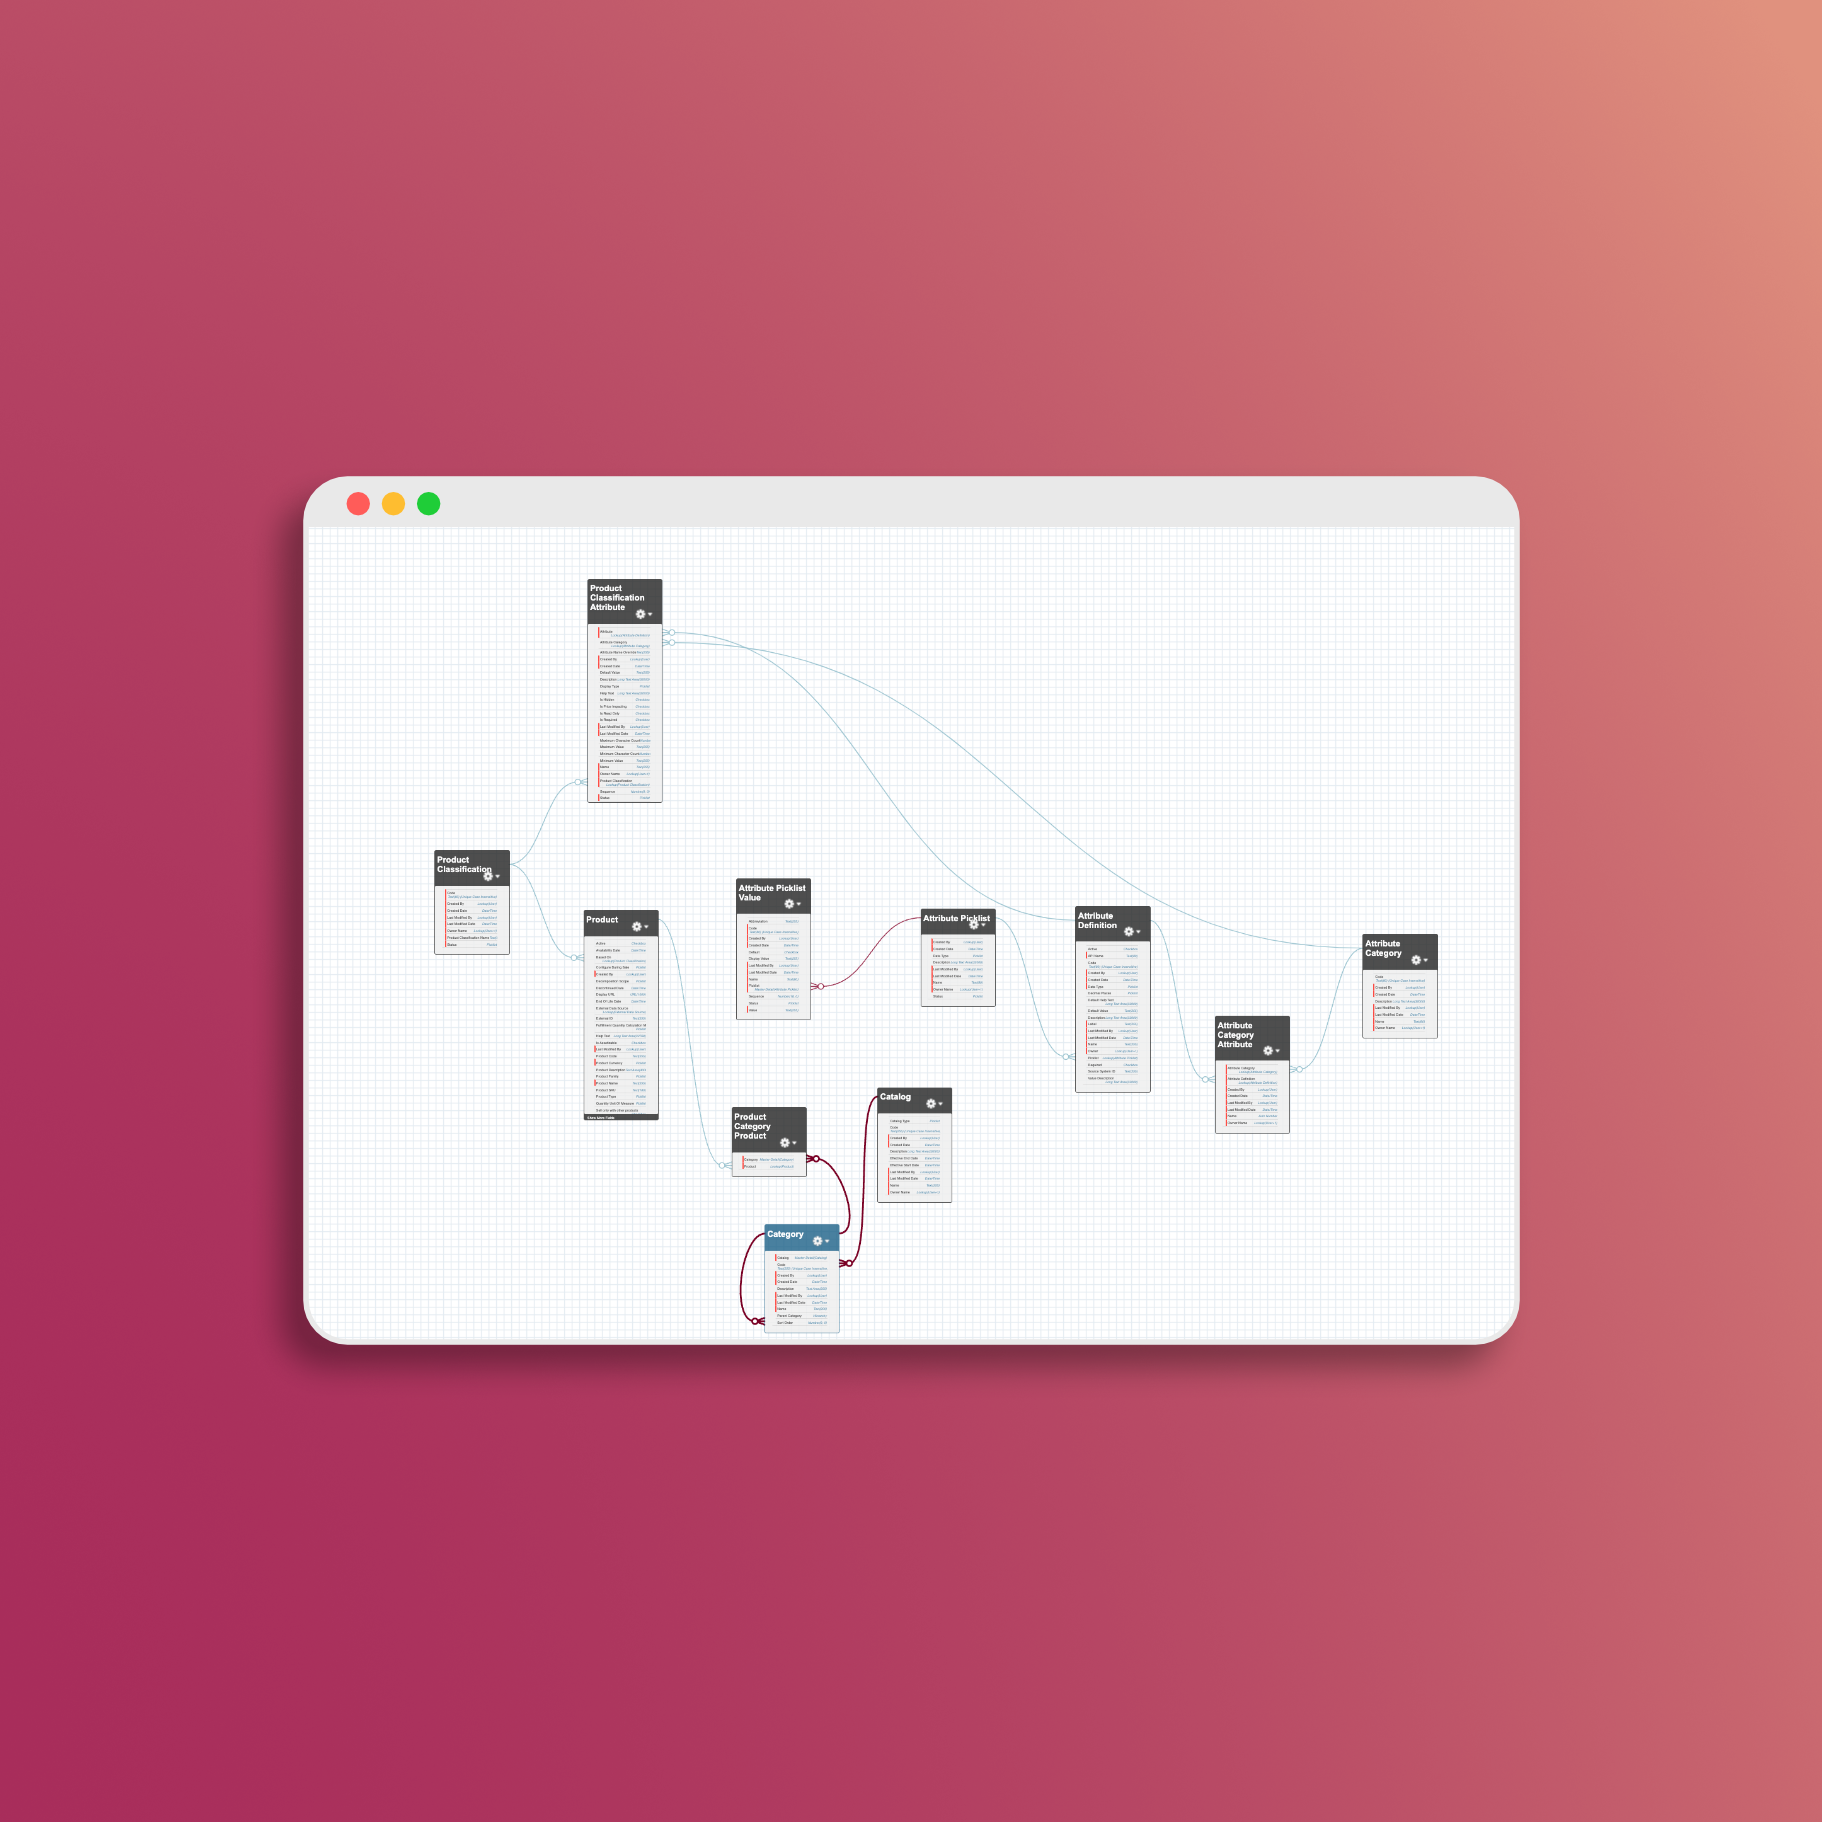
Create Product Classifications & Assign Attributes
Garment Product Classification:
- App Launcher > Product Catalog Management > Product Classifications > New
- Product Classification Name: Garment
- Save
- Assign attributes from the Garments category.
Sock Product Classification:
- App Launcher > Product Catalog Management > Product Classifications > New
- Product Classification Name: Sock
- Save
- Assign attributes from the Socks category.
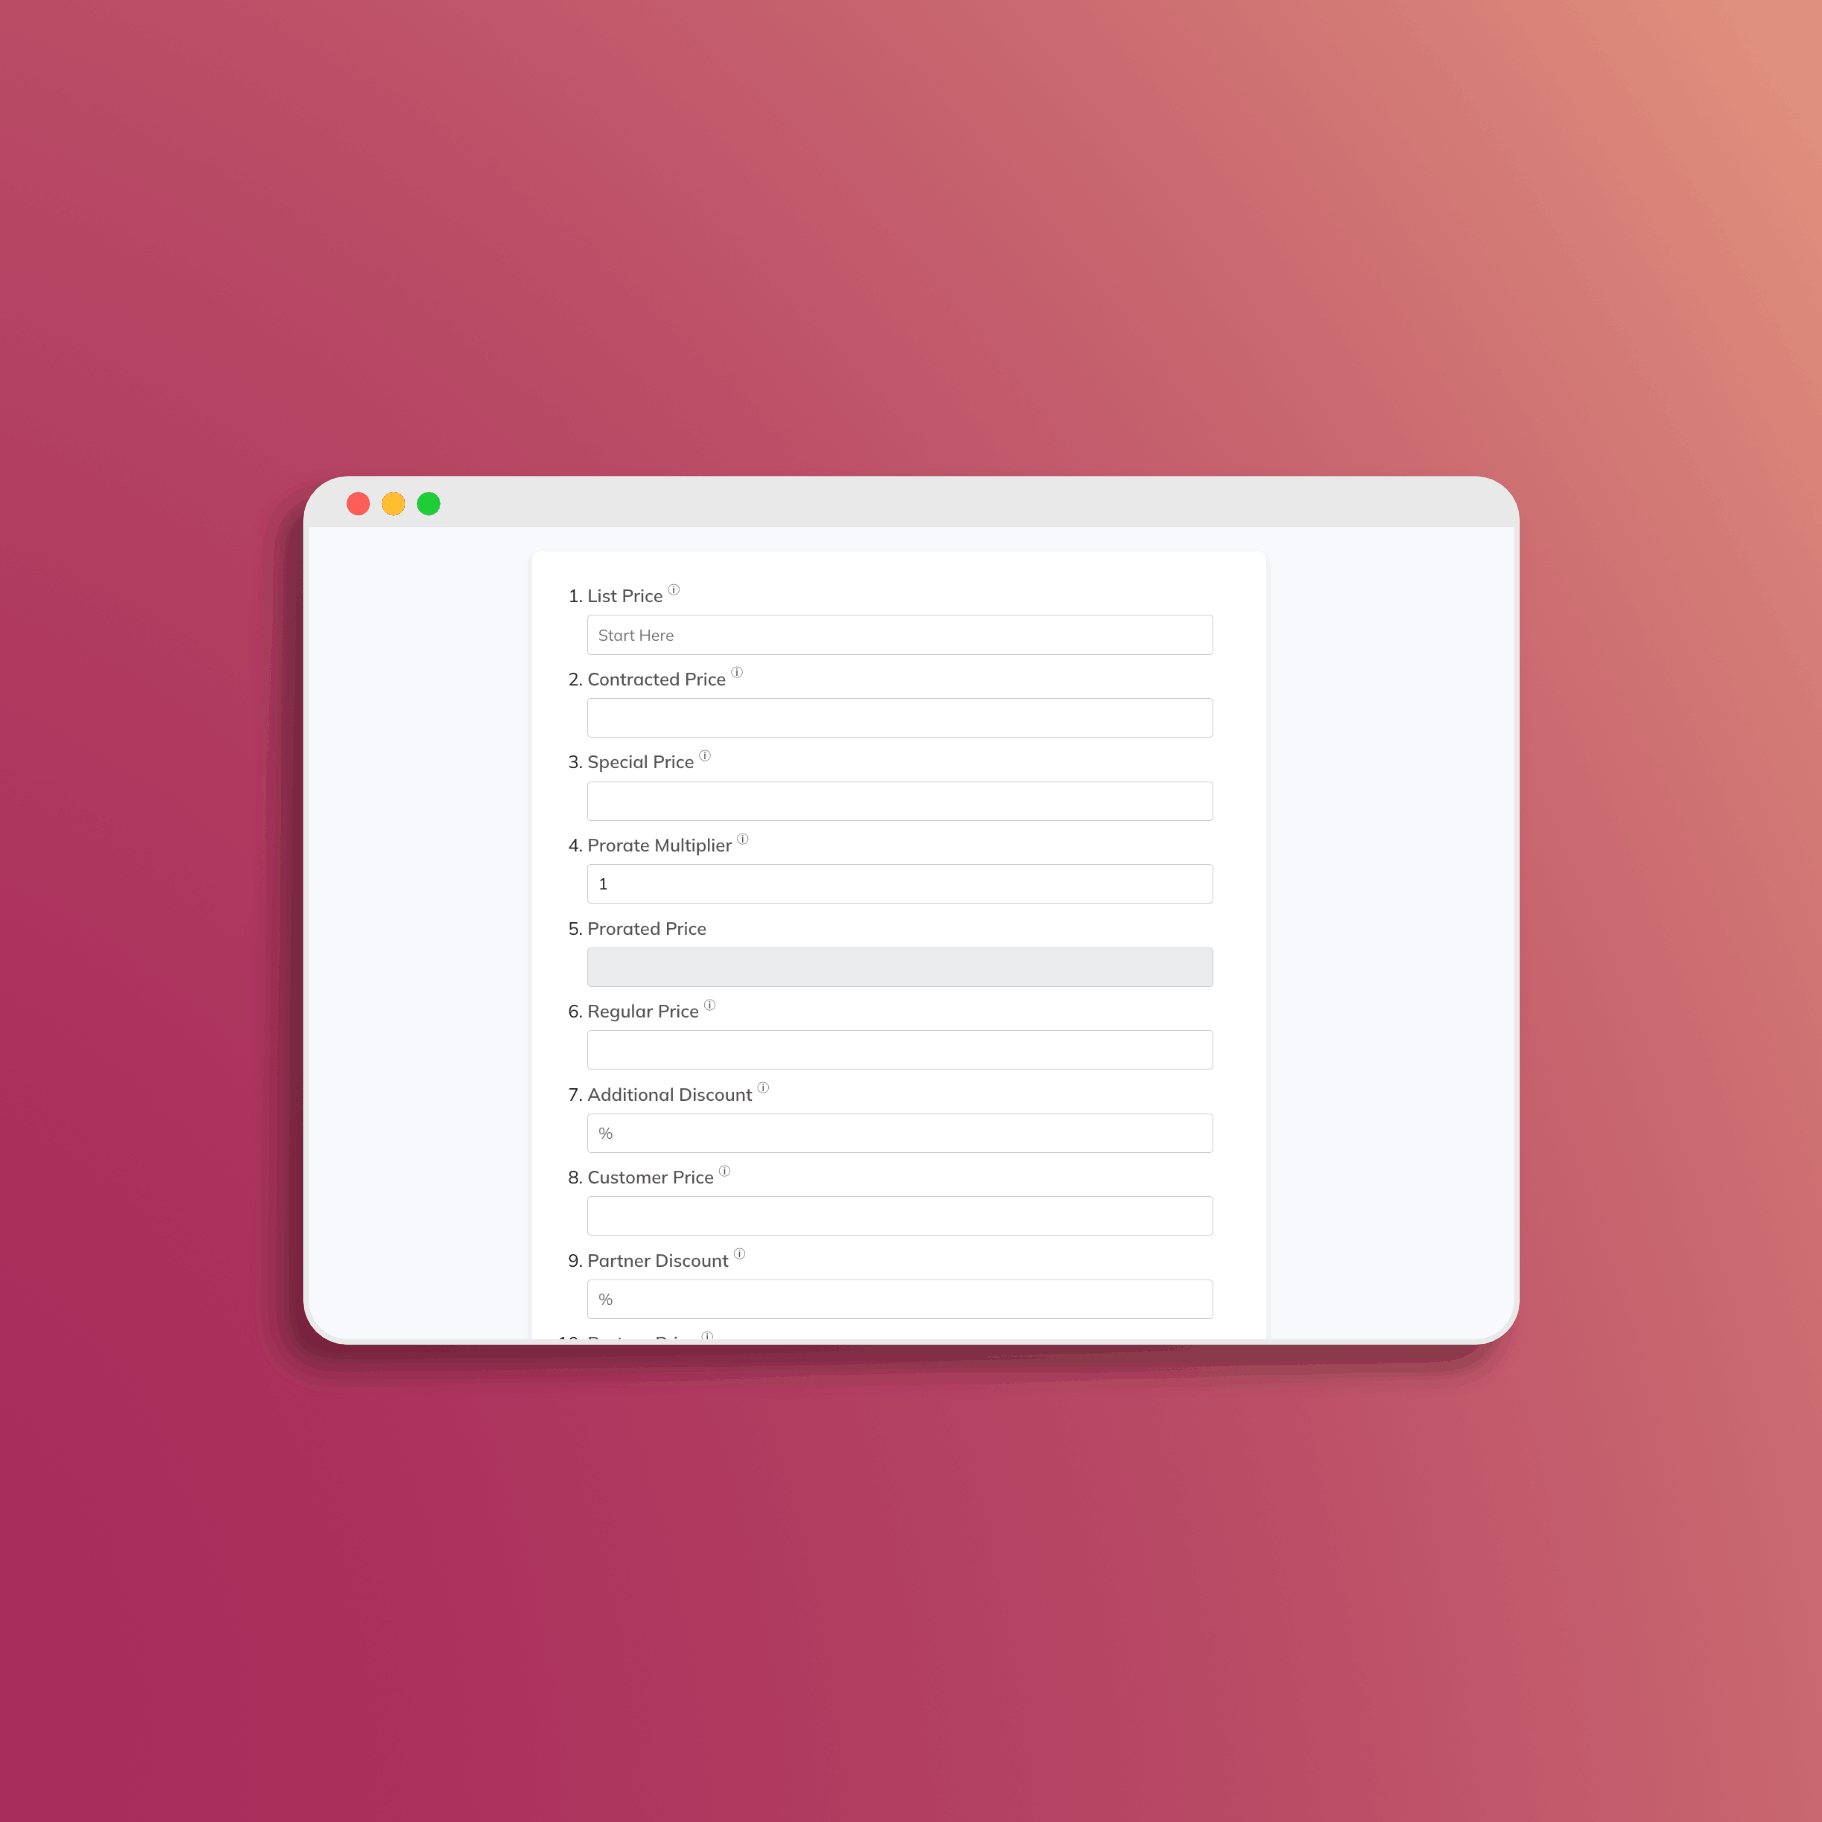
Test your product:
- Navigate to an opportunity or create a new one.
- Create a quote and browse catalogs to view the newly created Salesforce catalog and categories.
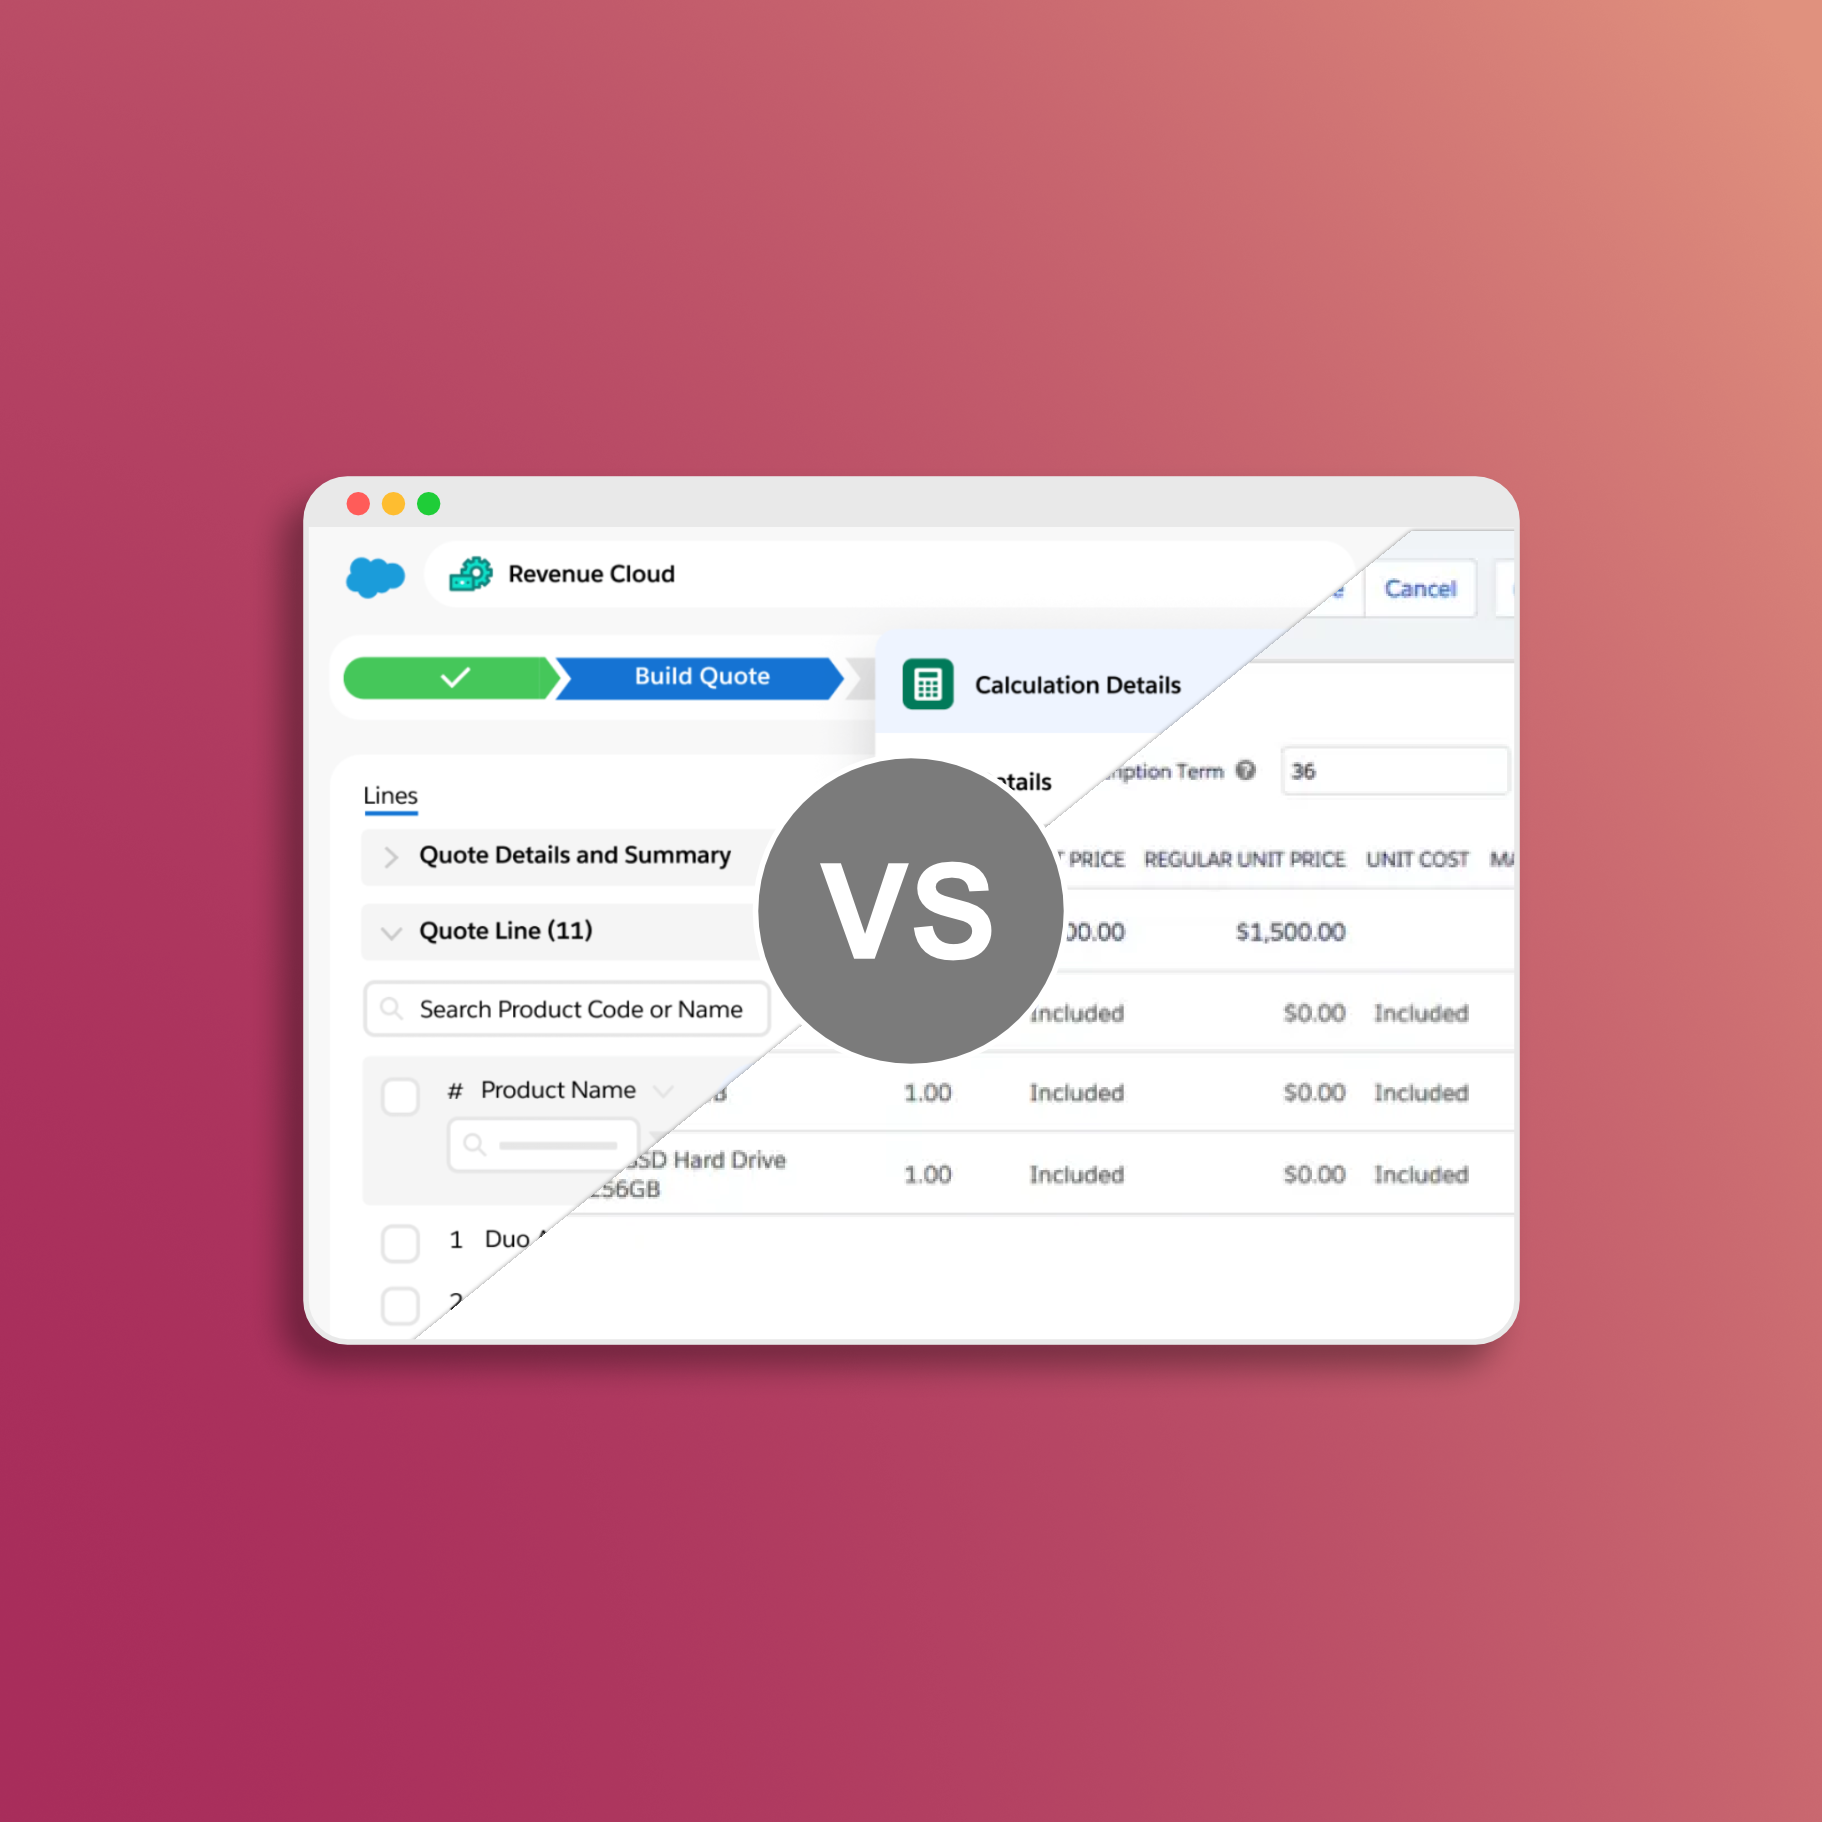
The quote document layer Revenue Cloud doesn't ship with
Revenue Cloud has the pricing engine. What it's missing: professional PDF templates, hosted quote links, and buyer acceptance tracking. SilkQuote closes that gap. Free on AppExchange, no code required:
- Generate - branded PDF quotes from any Opportunity in one click
- Host and share - prospects accept or decline directly in a browser, no Salesforce account needed
- Track - every open, view, acceptance, and decline logged to the Opportunity timeline
- Sign - DocuSign and Adobe Sign integration included
Free to install. Unlimited users and quotes. Deploys same day.
Get SilkQuote free on AppExchange →